
Scrapbooking, S is for Swing

SisforSwing1
 
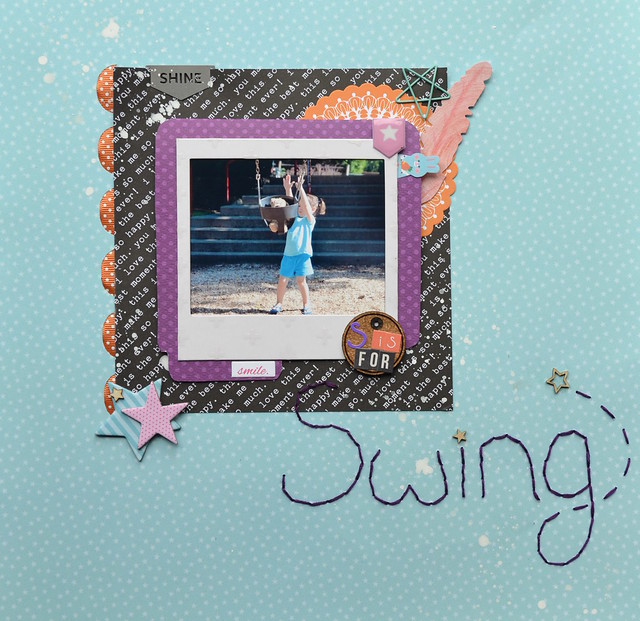
Hi everybody!  A few years ago, I made a page for my daughter called B is for.  It had different things B could be like beautiful and bellybutton.  Well, I decided to try another page like that.  This time it was for the letter S.  
 
SisforSwing2
 
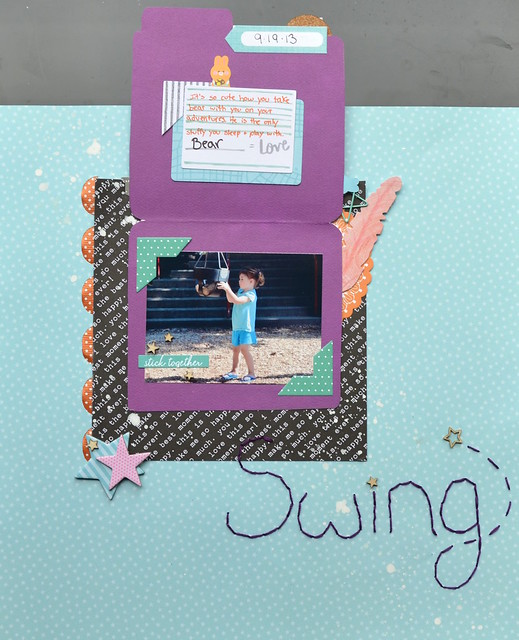
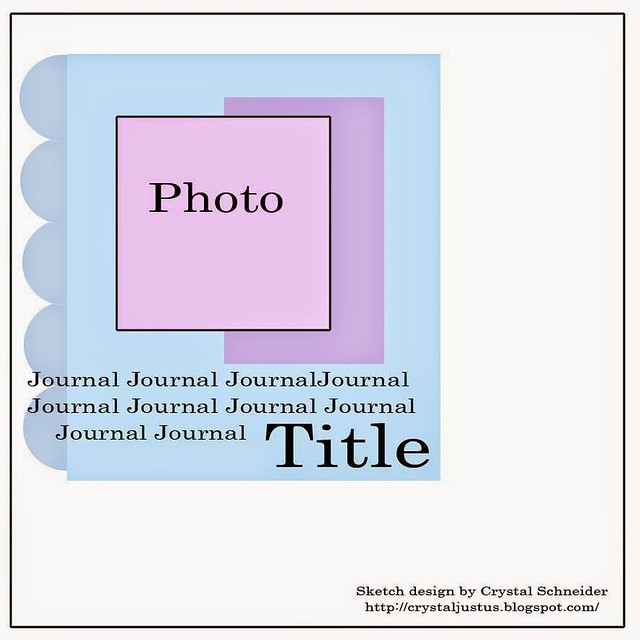
It's a fun page with a little bit of interaction.  I know it looks a little wonkey in the picture, but it really is straight in real life.  Of course, I made this page for the Memory Nest Make it Monday.  I went with the interactive page with a flap to add my extra photo because I felt adding a photo another way kind of lost the spirit of the sketch and I really wanted to include both photos.
 
MMMay2015b
 
It was fun trying to find a few embellishments in my stash that started with the letter S.  Of course I had lots and lots of stars!  The bunny is really random.  A fun Japanese dollar store opened up by me and they have lots of fun paper bits!  That's where the bunny comes from.  He might make a few appearances on a few of my pages.
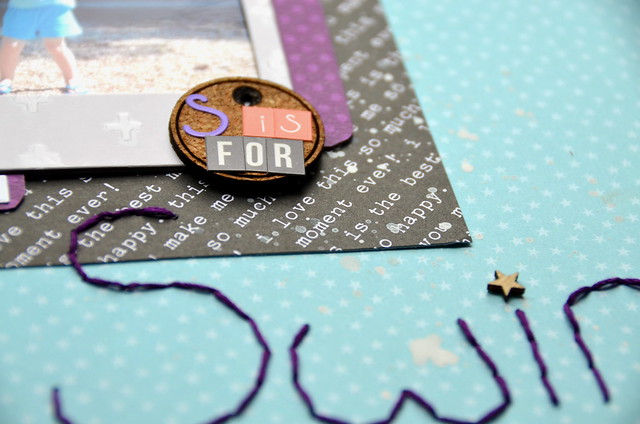
 
SisforSwing3
 
S is for sewing!
 
SisforSwing4
 
I found this stick together sticker and had to use it!  Perfect for how my daughter and her teddy bear are always together!
 
SisforSwing5

Comments

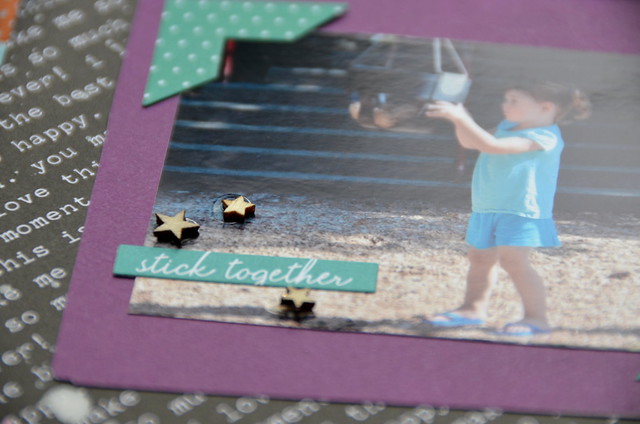
  1. This is just a sweet and fun page Saskia! I love the little embellishment cluster and the wooden stars on the corner of the photo. But the stitched title is my favourite, I really must do more of that on my pages! TFS. xx

    ReplyDelete
  2. Such a super idea to go with S is for - may just have to try this myself. Love the stitched word and the multi photo surprise!

    ReplyDelete

Post a Comment

Popular posts from this blog

Valentine's Day Wreath

Now that the Christmas decorations are down, it is time to make some Valentine's Day decorations to put up! I have seen some in the store, but it is much more fun to make your own.  So here is how I made my sweet heart wreath. First you need a hoop (the one I used had about a 7 in diameter), 7 big wooden hearts, 8 small wooden hearts, paint, glitter, ribbon, and some hot glue. I took all my hearts and painted them a solid color and then went back over them and made some patterns or outlined them. I thought they were looking a little boring so I went back and put some glitter on random ones. Then I went around and hot glued the big ones and tried to make them as evenly spaced as possible. Then I hot glued the smaller ones on top of the bigger hearts, tied some ribbon, and then hung on my door!

Scrapbooking, First Solo

I can't believe how much time has gone by since I last scrapbooked.  Well, I finally have been inspired to scrap again and I found a fun challenge with a very happy mood board that got my creative juices going again. Recently, my daughter got to dance her first solo on a stage.  I had only seen her dance this when she was first learning this.  She had a broken wrist at the time, so I never had seen some of the moves until she danced it on stage.  It had been over a year since she was on a stage and she has never been on one all by herself.  I wasn't sure how she was going to do.  I could tell she was getting nervous, but she did a beautiful job.  I was a very proud mommy.  =)  I really wanted to add one more picture, so I added this photo on a pull out tab.  I always enjoy the pages that have a little interactive part to them. While the paper I used for this layout was all new, all the embellishments are things that I have had for a long time.  I used some old stickers, wooden

Scrapbooking, Adore

    Every once in a while, I make a layout that I absolutely love and this is one of them.  I think it might be the rainbowness of it all that I love.  This is really a random photo of my daughter that I took while we were waiting for the bus.  I played with the photo on my phone and made it more rainbowy.  I really like how it came out, so I printed it out for my project life, but then I decided it needed its own page.  It really is a random page for a random photo.     This is my page for the Memory Nest . The circles on the sketch were my major inspiration.  I felt that they would make a fun background.  At first, I changed the circles to triangles and then I noticed all these old frames on my desk.  I'm a chipboard frame hoarder. lol.  I thought most of the frames were really ugly or they had patterns that I would never use.  At first, I was going to just paint the frames white, but then I decided to make them gray.  I'm glad I made them gray because now they