
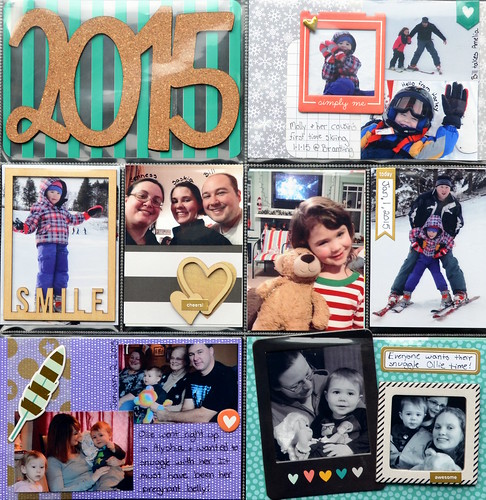
I debated for a while if I was going to do project life...well attempt it again this year. Last year I only made it to April, but I do plan to go back and finish it. I do have a lot of partially done pages that just need to be finished off.
Anywho, I've started this year off to a great start. I'm actually getting
into a really good rhythm. First, I discovered that I have to keep my pages simple. Second, I've found how I like to print my photos and how to use them on the pages. This has made the pages I've made so far go much quicker and I can actually get a page done in one night. I'm a slow scrapper so that is amazing to me. I just hope I can keep it up.
I usually like to use left over bits for my project life, but I could resist digging into a few new things that I picked up. I couldn't resist picking up the I Am 6x6 pad from Simple stories and Frosty friends from doodlebug. I had to use them right away. I know the wooden hearts and I think the wooden frame were picked up from the closing of my local scrapbook store. A big pet chain store wanted to expand so they terminated the scrapbook store lease and a couple other little stores. They couldn't find a new place, so they had to close up. Major bummer! I tried to use up a bunch of gold embellishments. I'm not a fan of gold and never ever use it, but it seems to be all the rage right now. I have way too much of it. I don't mind gold with purple though. If only there was more purple in all the new stuff coming out!
I usually like to use left over bits for my project life, but I could resist digging into a few new things that I picked up. I couldn't resist picking up the I Am 6x6 pad from Simple stories and Frosty friends from doodlebug. I had to use them right away. I know the wooden hearts and I think the wooden frame were picked up from the closing of my local scrapbook store. A big pet chain store wanted to expand so they terminated the scrapbook store lease and a couple other little stores. They couldn't find a new place, so they had to close up. Major bummer! I tried to use up a bunch of gold embellishments. I'm not a fan of gold and never ever use it, but it seems to be all the rage right now. I have way too much of it. I don't mind gold with purple though. If only there was more purple in all the new stuff coming out!
Comments
Post a Comment