
Scrapbooking, Guestbook

Guestbook4

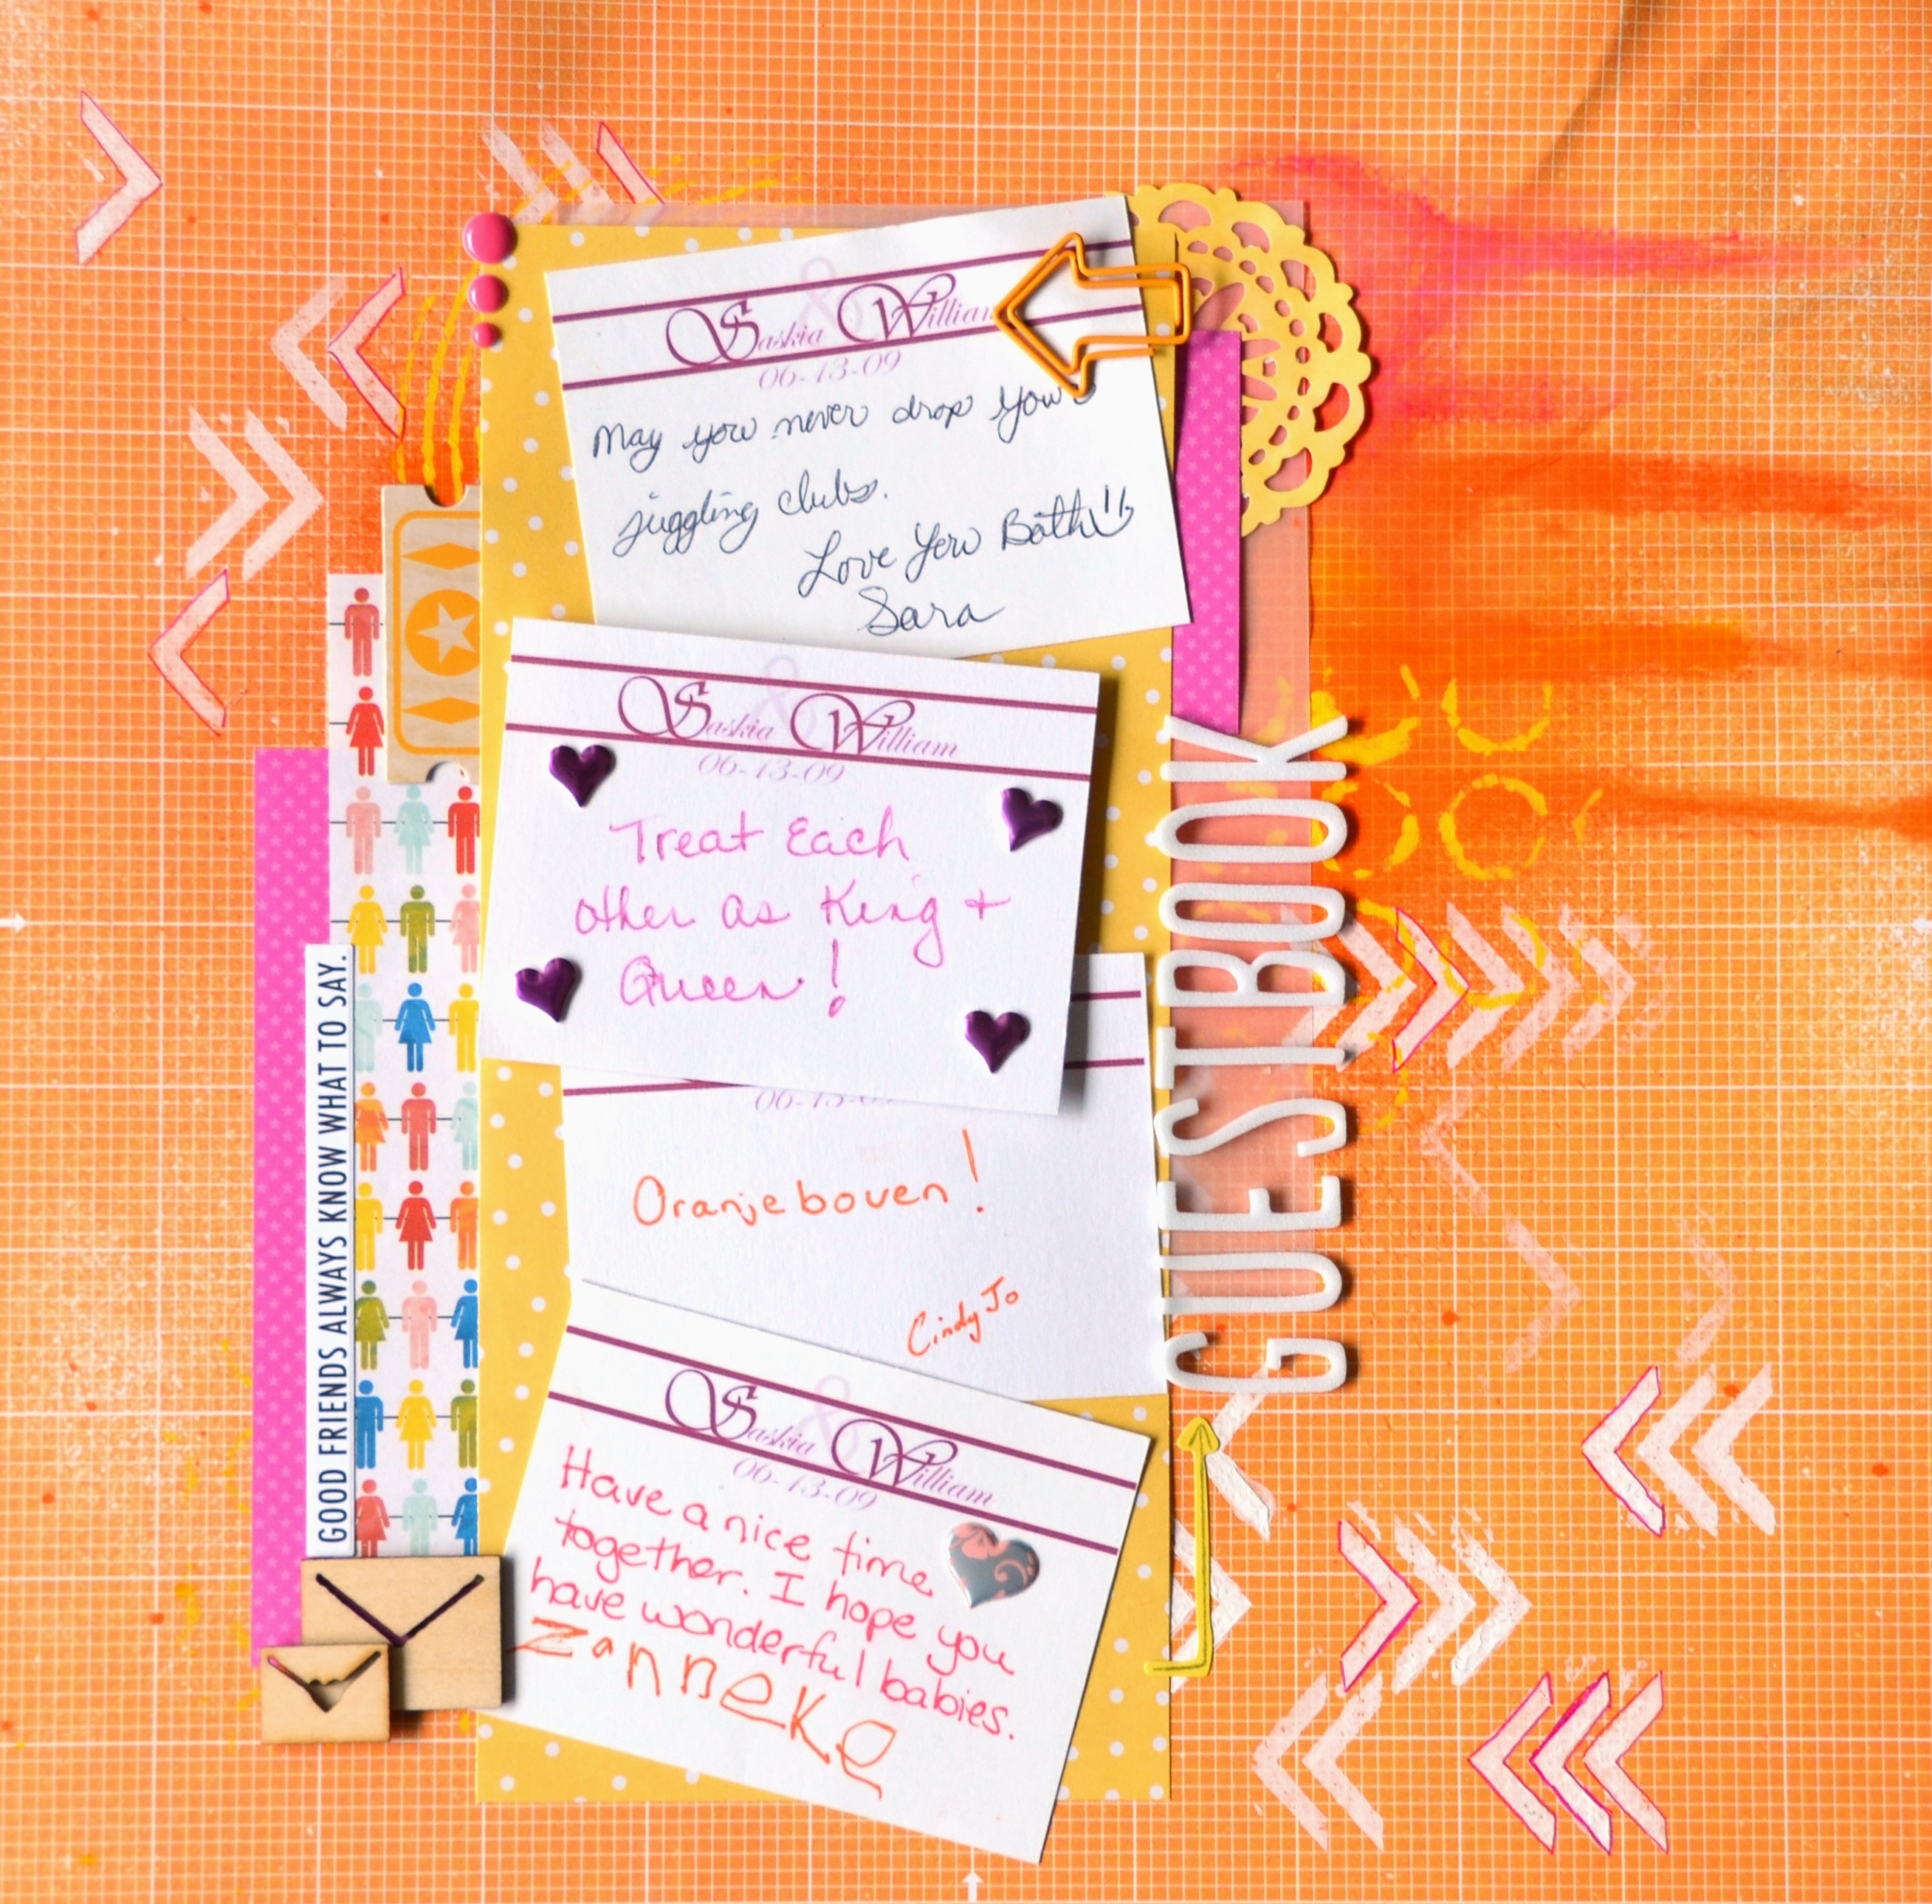
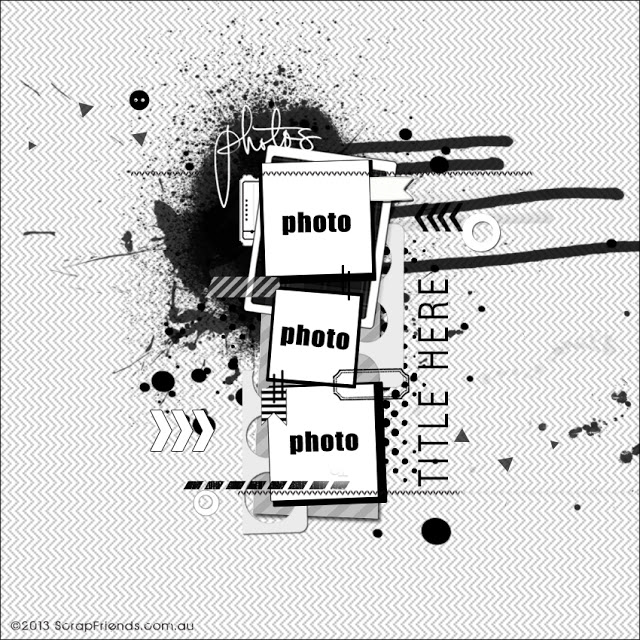
I always look forward to when Scrapfriends comes out with a new sketch.  I just love the splatters!  Anyways, I knew I just had to use this sketch for some guestbook cards from when I got married a few years back.  I had just found them again and I've been trying to find fun ways to get them into my wedding scrapbook.  It has been such a blast reading them!
I tried using gelatos on this layout, but I mostly made a mess and warped my paper a bit.  I know lots of people are loving them, but I'm really not much of a fan.  I'll give them a few more tries.  Maybe I'll find a way to use them that I like.

sketch_44

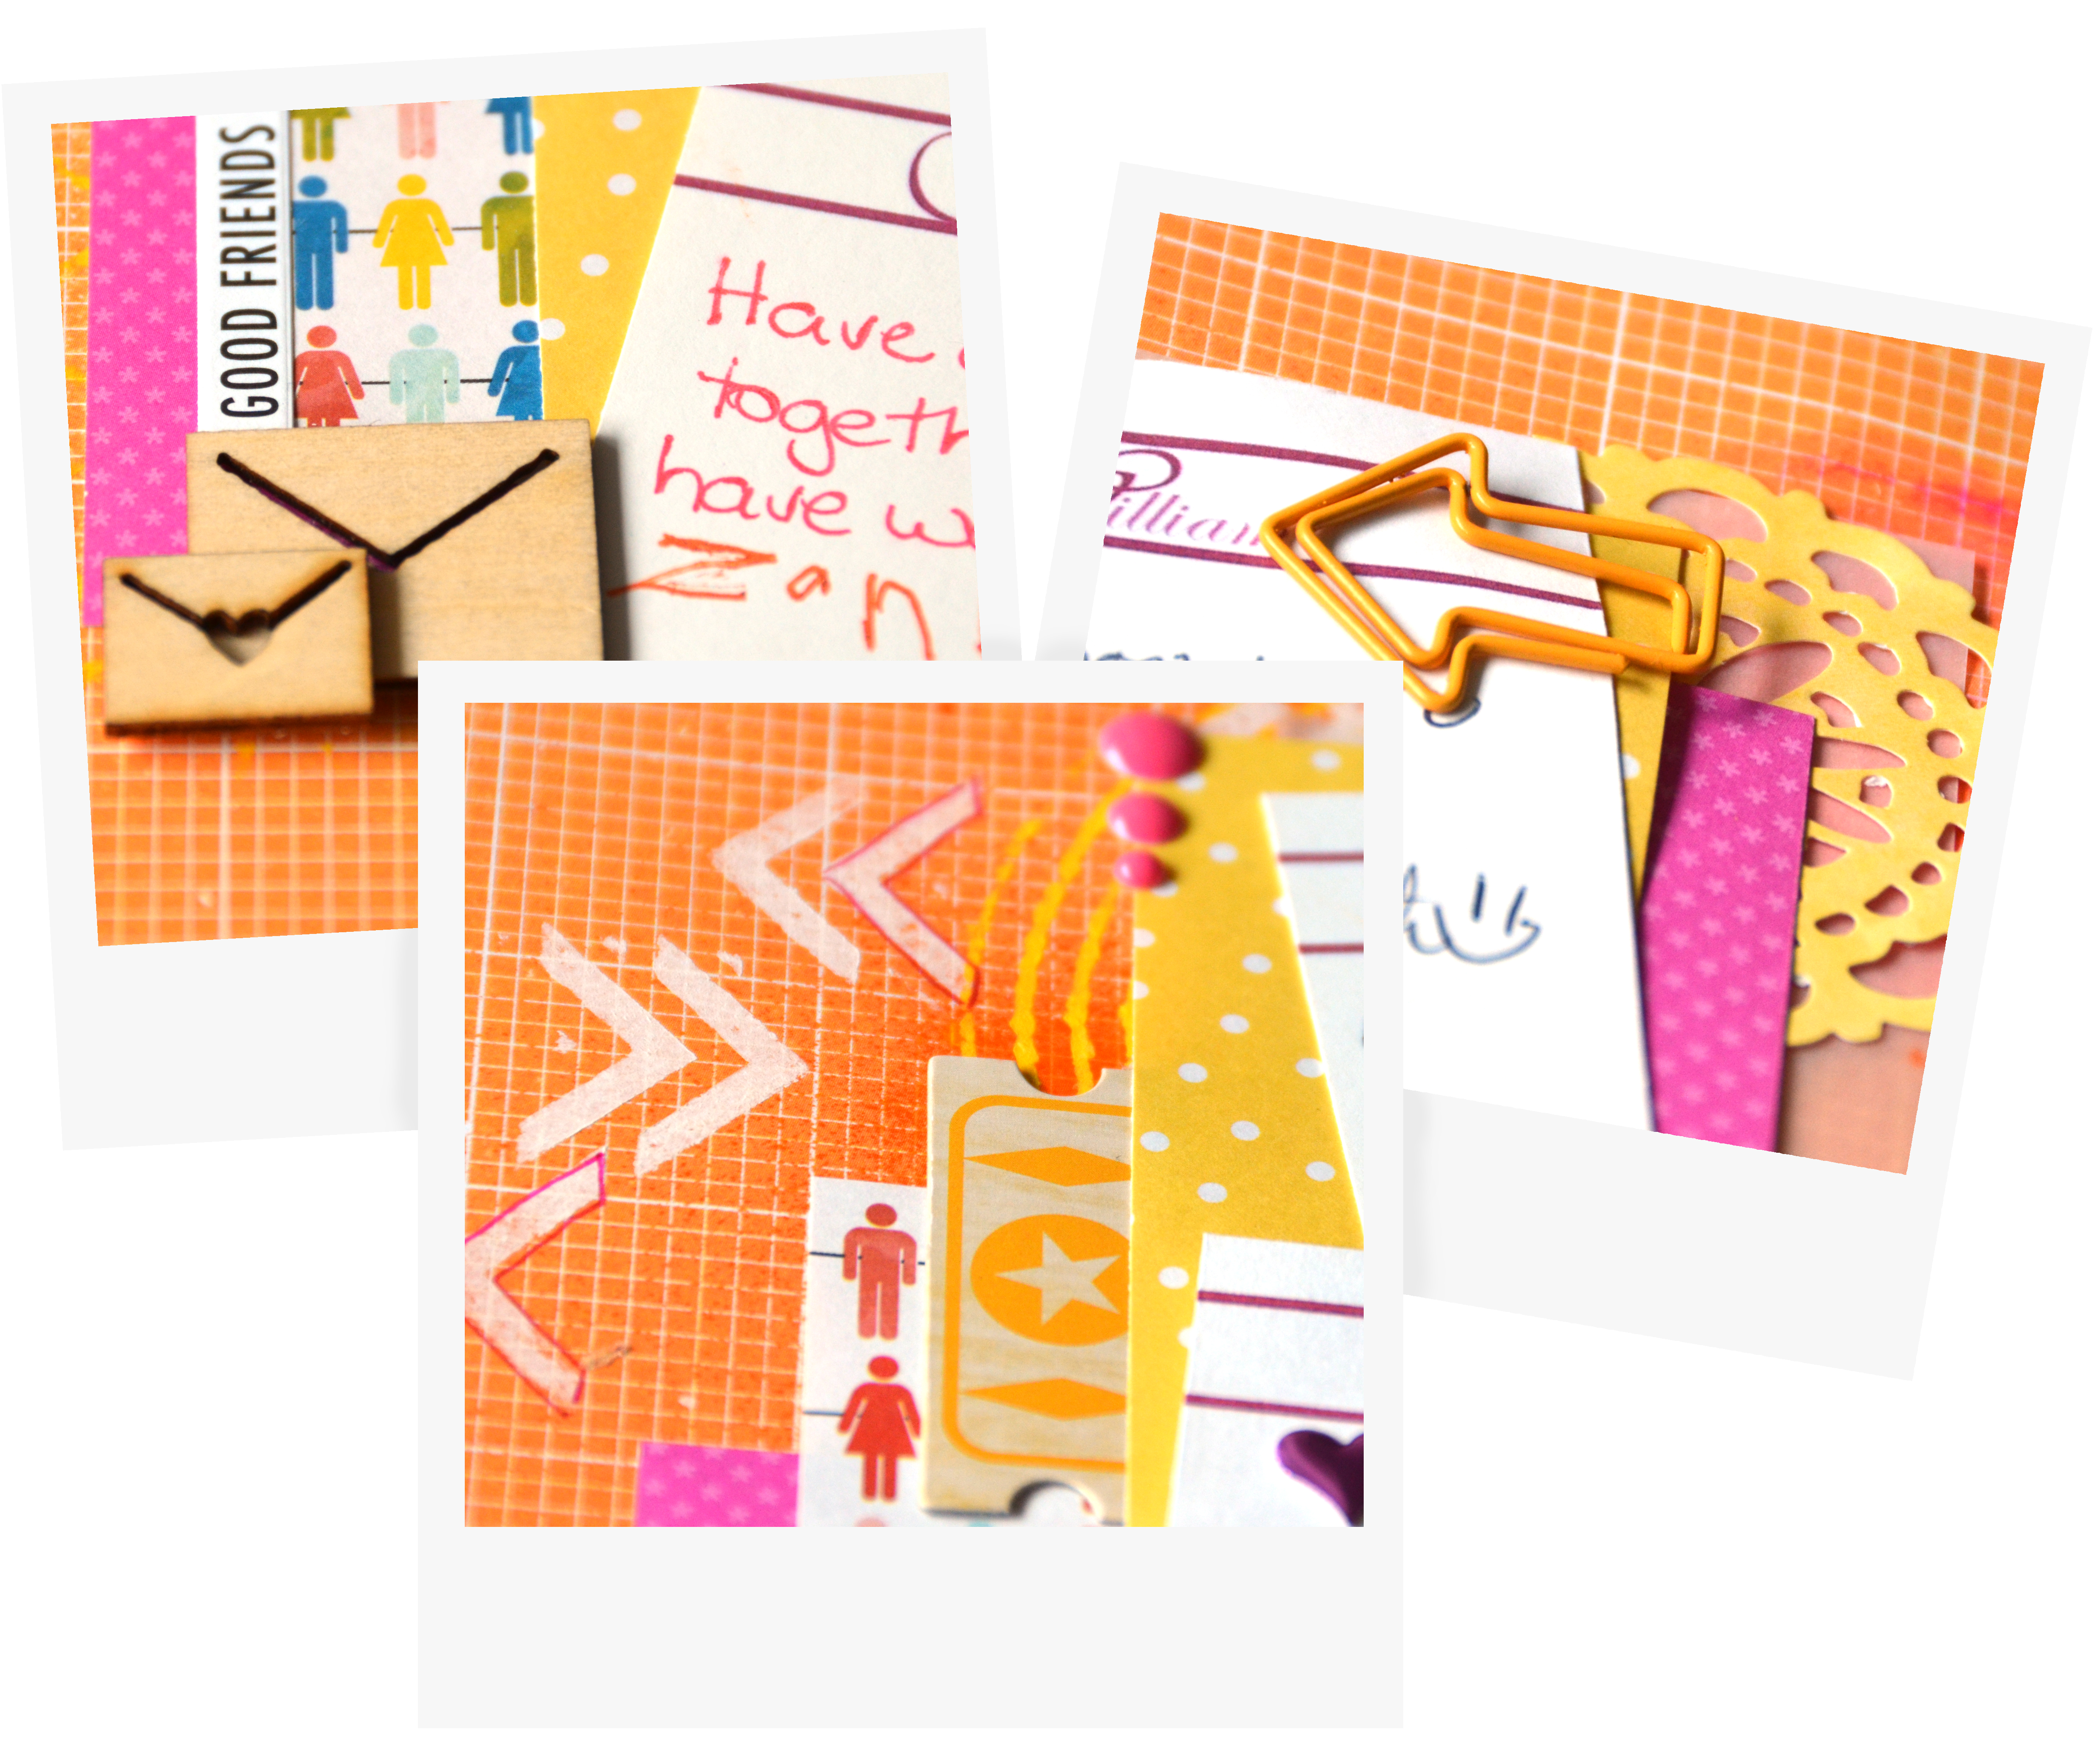
I've had the wooden envelopes for a long time just waiting for a good layout for them.  I'm so glad to finally use them!

guestbook6

Comments

  1. great idea to scrap those guestbook cards! and I feel you with the gelatos - I´ve tried them with water and my first try..well, lets just say, it was not what I expected. then I found that rubbing them without water onto the paper by just using my fingers was the way to go for me. I´m sure you will find a way to get along with Gelatos too :). thanks for joining us at ScrapFriends this month!!

    ReplyDelete
  2. Great take on the sketch and wonderful colors.

    ReplyDelete
  3. Great idea & wonderful bright colours...I love my Gelatos - but I think the secret is to spray water with an empty fne mist - like an empty Tattered angels mist spray for example - not so much to warp your paper & then scribble the Gelatos on in a small space, gradually adding water & color as you go.... I hope you do 'get them'...as they are FUN to work with:):) Also, they are great over gesso....which 'resists' the water a bit, so this makes for great 'pooling'...but it's not quite as bright of course...sorry for the long post! Anyways, thanks for playing along with us at SF:):)

    ReplyDelete

Post a Comment

Popular posts from this blog

Car Roll Tutorial

  November is such a crazy time.  There are so many projects that have to be made for birthdays and Christmas.  Making things is so much more fun then buying something random.  Anyways, I made this cute car roll for Moose's best buddy's 2nd birthday.  I'm loving how it came out and her friend has been having a blast putting his hot wheels in the little pockets.  So here is how I made it so you can make one too!  I don't have photos for every step because Moose was "helping" me the entire time and I couldn't juggle her and a camera very well.   Supplies: 1/4 of a yard of green fabric 1/4 of a yard of some fun print fabric Batting (about 16 inches by 9 1/2 inches) 5 Pieces of scraps of fabric at are 4 inches by 4 1/2 inches Felt for roads, dirt, and water (I used the felt rectangle pieces you see everywhere in craft stores) Bias Tape Button Elastic or a hair tie  Step 1: Cut ...

Scrapbooking, First Solo

I can't believe how much time has gone by since I last scrapbooked.  Well, I finally have been inspired to scrap again and I found a fun challenge with a very happy mood board that got my creative juices going again. Recently, my daughter got to dance her first solo on a stage.  I had only seen her dance this when she was first learning this.  She had a broken wrist at the time, so I never had seen some of the moves until she danced it on stage.  It had been over a year since she was on a stage and she has never been on one all by herself.  I wasn't sure how she was going to do.  I could tell she was getting nervous, but she did a beautiful job.  I was a very proud mommy.  =)  I really wanted to add one more picture, so I added this photo on a pull out tab.  I always enjoy the pages that have a little interactive part to them. While the paper I used for this layout was all new, all the embellishments are things that I have had for a lon...

Scrapbooking, Melt My Heart

  I've got one more rainbow inspired layout to share. This time I played along with Scrap Our Stash . I used the following five items up from the list. 1. Stripe Paper (I may have a rainbow stripe addiction when it comes to paper) 2. Paper Clip (the orange arrow at the top) 3. Wood Veneer (the cute arrow) 4. Flair (I've got two.  The circle heart from Amy Tangerine and the square sunshine from a Freckled Fawn Kit) 5. Enamel Dots (I've got a few green in one corner and a few orange in another)   I used a bunch of pop dots on this layout to keep some of the corners up and to give the clouds some layering.  I kind of forgotten just how handy those little things can be in giving depth to a page. I also decided to keep my journaling hidden since this page has so much going on pattern wise with no good breaks.