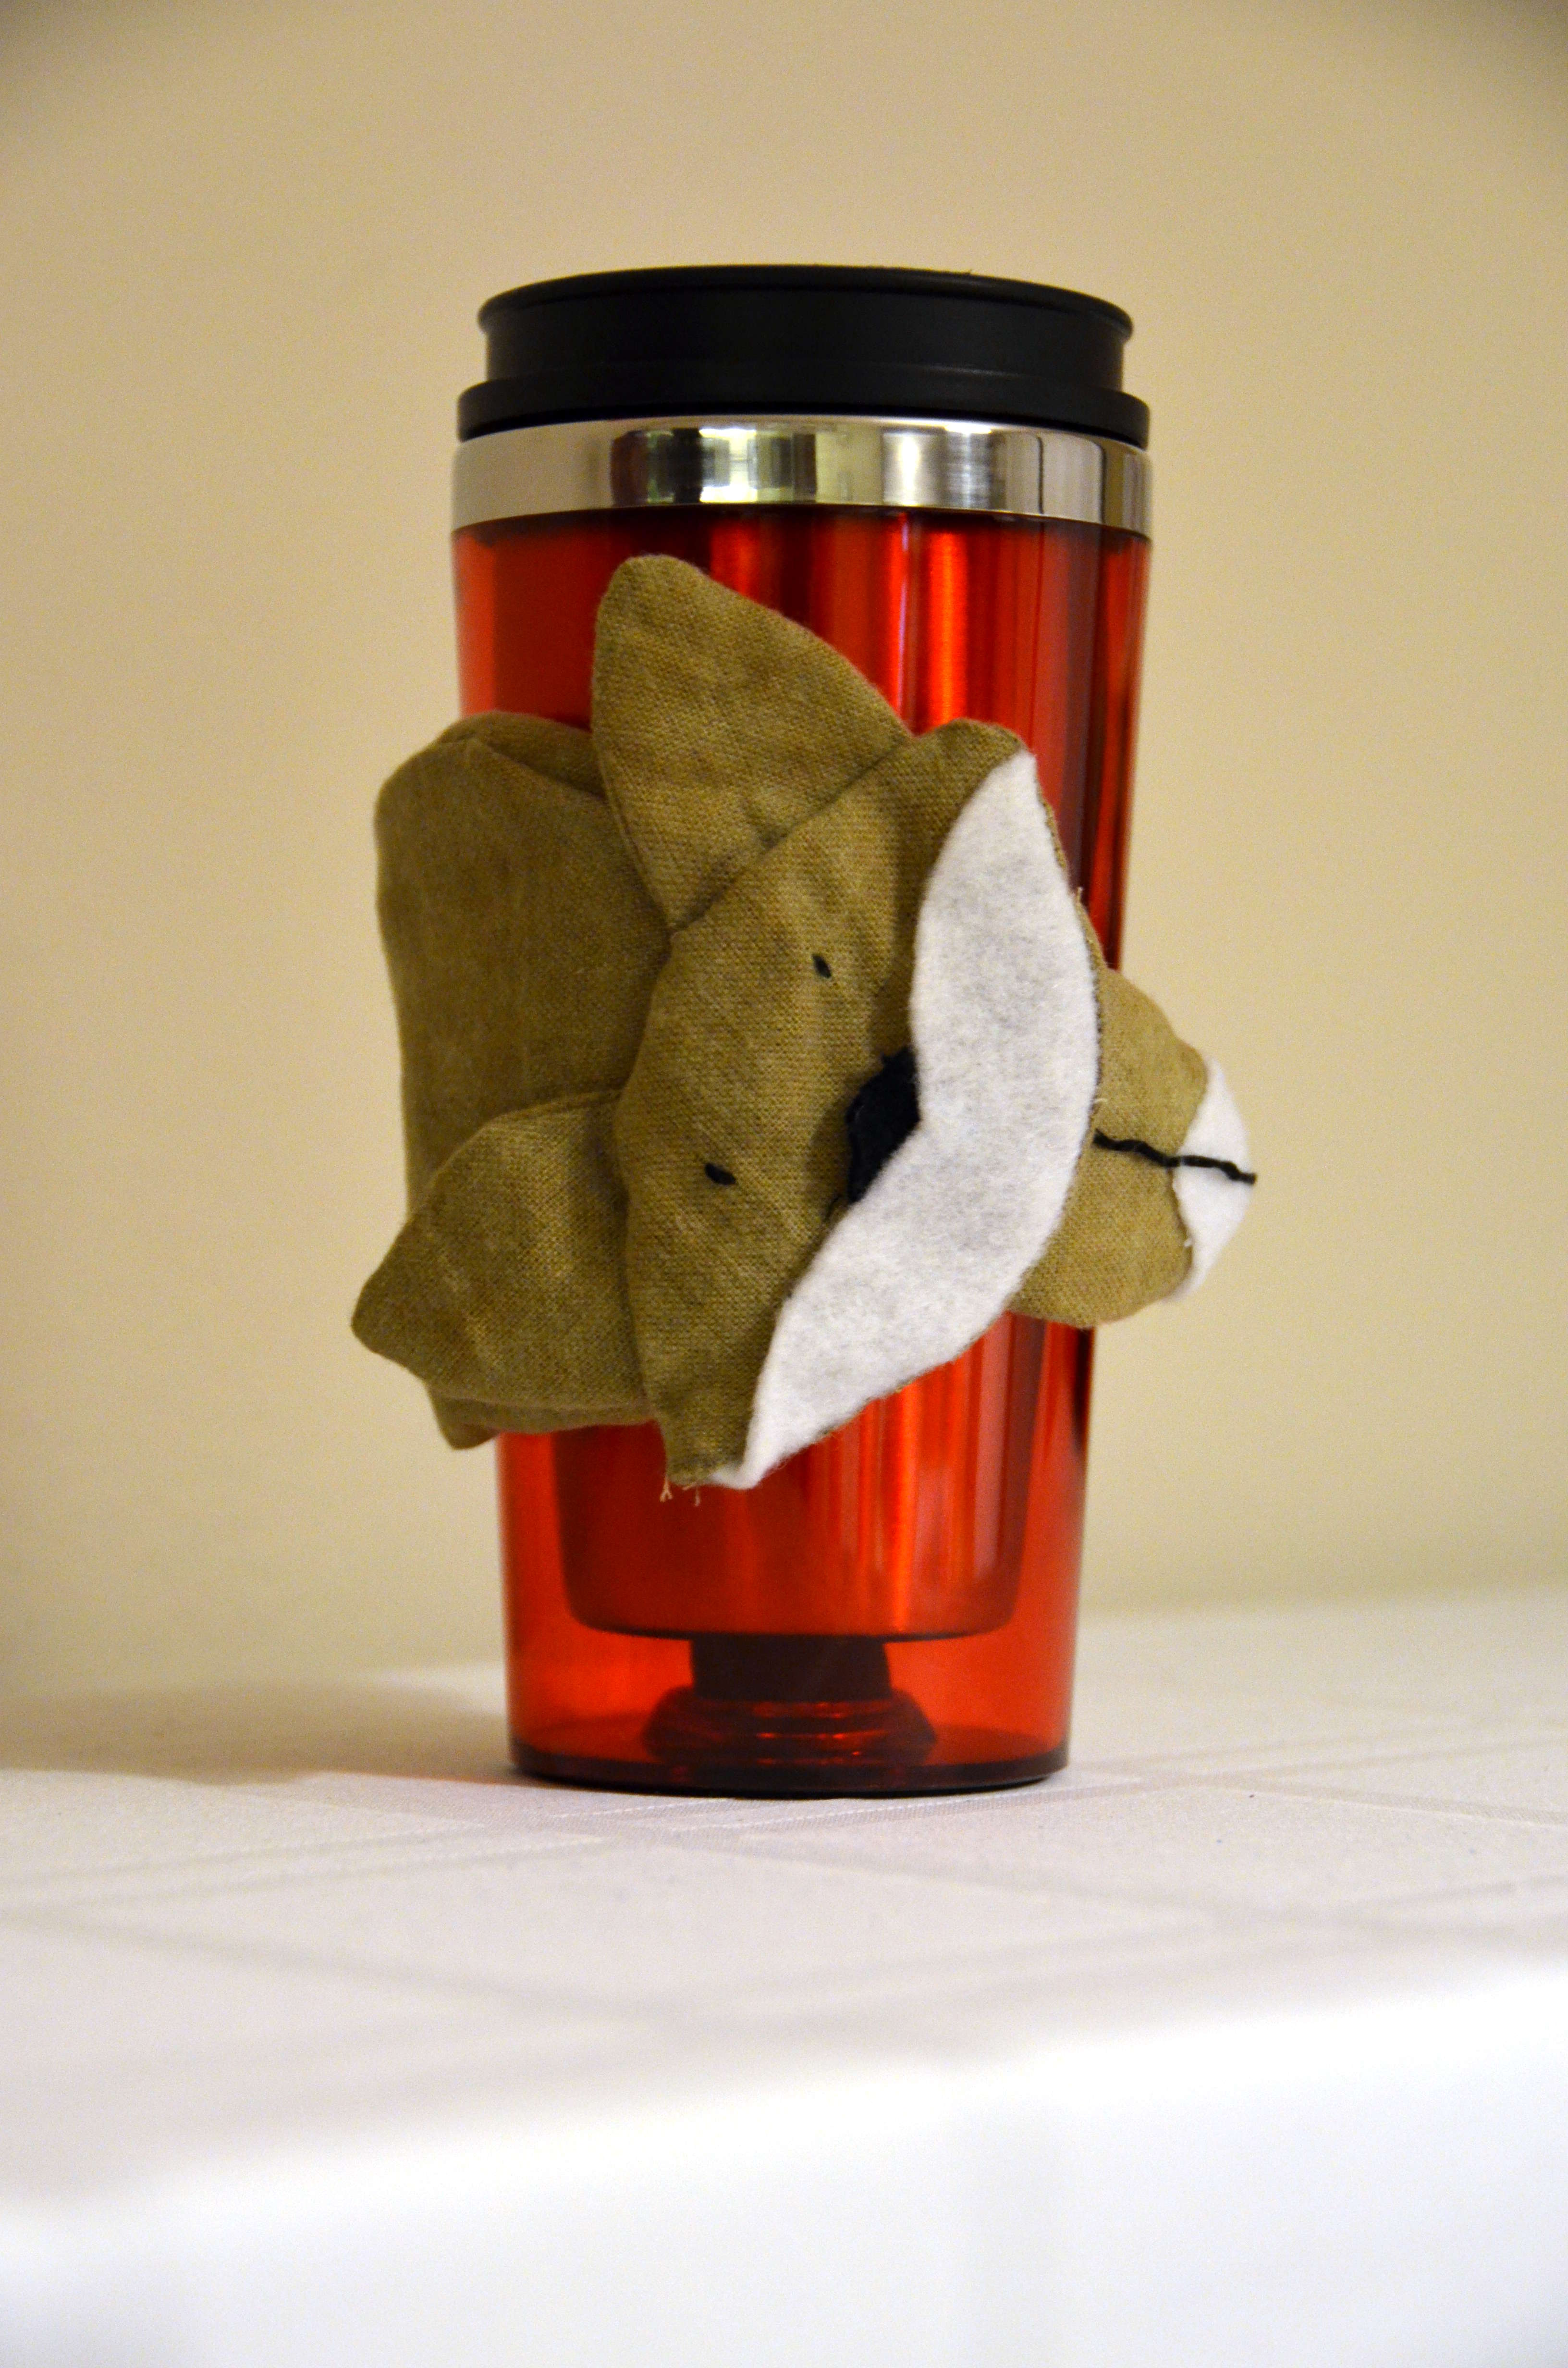
Coffee Sleeve

Coffee

I just wanted to share this cute fox coffee sleeve I made for one of my besties' birthday.  I had to wait a few days before I posted it to make sure I didn't mess up the surprise for my friend.  I got the directions for it here.  It didn't come out perfect, but it came out as well as it was going to for have two little ones who need my attention every five minutes.  I kind of hope I can find some time to make another one.  I would love to do one in some crazy orange fabric.

Comments

  1. The context of this content is really good. Thank you for sharing this type of awareness with us. In this article, you shared much informative knowledge on multiplication activities. Take look at this tooPersonalized Coffee Sleeve . Thanks!

    ReplyDelete

Post a Comment

Popular posts from this blog

Car Roll Tutorial

  November is such a crazy time.  There are so many projects that have to be made for birthdays and Christmas.  Making things is so much more fun then buying something random.  Anyways, I made this cute car roll for Moose's best buddy's 2nd birthday.  I'm loving how it came out and her friend has been having a blast putting his hot wheels in the little pockets.  So here is how I made it so you can make one too!  I don't have photos for every step because Moose was "helping" me the entire time and I couldn't juggle her and a camera very well.   Supplies: 1/4 of a yard of green fabric 1/4 of a yard of some fun print fabric Batting (about 16 inches by 9 1/2 inches) 5 Pieces of scraps of fabric at are 4 inches by 4 1/2 inches Felt for roads, dirt, and water (I used the felt rectangle pieces you see everywhere in craft stores) Bias Tape Button Elastic or a hair tie  Step 1: Cut ...

Scrapbooking, Melt My Heart

  I've got one more rainbow inspired layout to share. This time I played along with Scrap Our Stash . I used the following five items up from the list. 1. Stripe Paper (I may have a rainbow stripe addiction when it comes to paper) 2. Paper Clip (the orange arrow at the top) 3. Wood Veneer (the cute arrow) 4. Flair (I've got two.  The circle heart from Amy Tangerine and the square sunshine from a Freckled Fawn Kit) 5. Enamel Dots (I've got a few green in one corner and a few orange in another)   I used a bunch of pop dots on this layout to keep some of the corners up and to give the clouds some layering.  I kind of forgotten just how handy those little things can be in giving depth to a page. I also decided to keep my journaling hidden since this page has so much going on pattern wise with no good breaks.

Scrapbooking, Pumpkin Patch

  I loved how the water color background turned out for my son's page so much, that I had to try it again.  This time, I thought I would make a two page layout for my daughter's book since it has been a very long time since I've tried one.   I wanted to scrap these pumpkin patch pictures from last year because we were just about to go to the pumpkin patch again and I thought they would help me get into the fall mood.  I just love fall, but the weather in the pacific northwest is so unpredictable this time of year.  You never know if there is going to be a sunny day to go pumpkin picking so you have to take advantage of one when it comes!   Scrap Our Stash had their Tic Tac Toe challenge again, so I thought I would give it a go.  I went right down the center and did 3 buttons, decorative pins, and wood veneers.  I scattered buttons randomly onto the page.  I used up the little joy pin from Little Yellow Bicycle that I had laying ...