
Scrapbooking, Hidden Beach

HiddenBeach1
 
What a fun challenge is in store for everyone at the Memory Nest!  Here is my water inspiration for everyone.  At first I was going to do a page of my little dude's first bath, but these photos from one of out impromptu trips to one of our favorite beaches this summer while we were waiting for the little guy to make an appearance worked better with the interactive element I wanted to do. 
 
HiddenBeach2
 
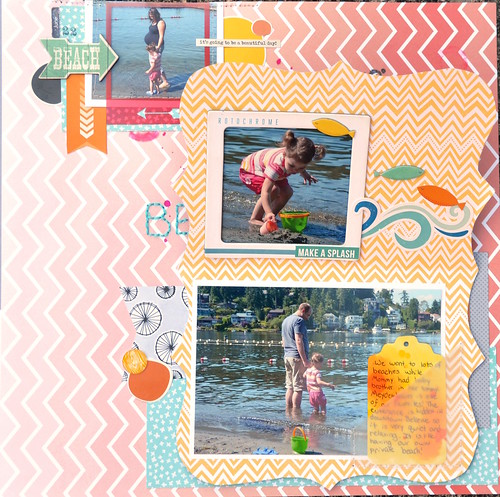
So the twist was to make an interactive element.  At first I thought about cutting out that upper photo of my daughter and myself walking on the beach and making a tab that you could pull out to actually make us walk, but I ended up deciding that my cutting skills were not up for that challenge.  I ended up just doing a big flap up and a little pull out journaling tag.

HiddenBeach3
 
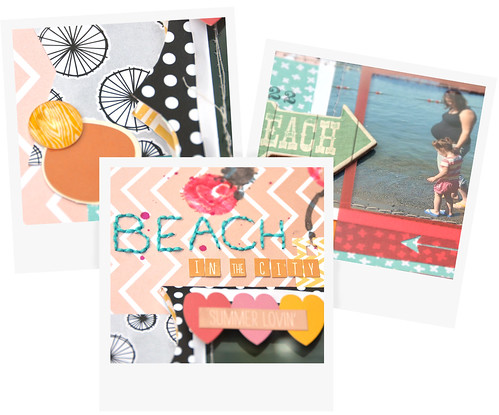
On of my favorite details is the stitched title.  I love the texture it creates.  The title might seem kind of weird, but the beach we were at is basically in downtown Bellevue.  The entrance is hidden away and the first time I tried to get here I drove past it several times.  It's a small beach, but because it is so tricky to get to, it often only has a few people at it.
 
HiddenBeach4
 
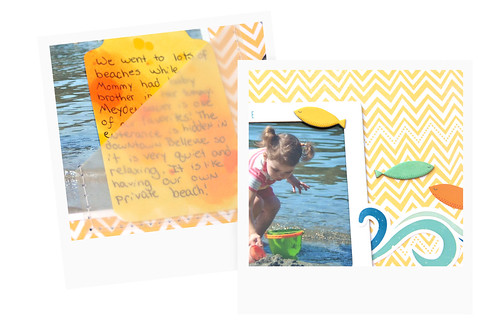
And here are just a few close-ups of my interactive part.  I love the bright colors of this page.  The yellow and pink papers I used on this layout play off of the colors from my daughters shirt.

Comments

  1. Loving that interactive element and the ink splatters. Great layout! Enjoyed scrolling through your blog and am a new follower :)

    ReplyDelete
  2. I love what you did with this challenge. Great colors and that picture of your daughter is darling!

    ReplyDelete

Post a Comment

Popular posts from this blog

Valentine's Day Wreath

Now that the Christmas decorations are down, it is time to make some Valentine's Day decorations to put up! I have seen some in the store, but it is much more fun to make your own.  So here is how I made my sweet heart wreath. First you need a hoop (the one I used had about a 7 in diameter), 7 big wooden hearts, 8 small wooden hearts, paint, glitter, ribbon, and some hot glue. I took all my hearts and painted them a solid color and then went back over them and made some patterns or outlined them. I thought they were looking a little boring so I went back and put some glitter on random ones. Then I went around and hot glued the big ones and tried to make them as evenly spaced as possible. Then I hot glued the smaller ones on top of the bigger hearts, tied some ribbon, and then hung on my door!

Fish Finger Glove Puppet

I just love being back east and being with all of my family for Christmas, but I don't like the travel and I really don't like the germs.  We managed to bring back with us some lovely east coast germs.  Little Moose took it the hardest and still is a little bit sick.  Anyways, I finally got the chance to get back onto my computer and I just have to share with you what my sister-in-law made for us.  There are a bunch so I'll share one every day this week! I love the bright colors of the fishes!  Each glove puppet came with a poem.  They are just to cute!

Scrapbooking, Adore

    Every once in a while, I make a layout that I absolutely love and this is one of them.  I think it might be the rainbowness of it all that I love.  This is really a random photo of my daughter that I took while we were waiting for the bus.  I played with the photo on my phone and made it more rainbowy.  I really like how it came out, so I printed it out for my project life, but then I decided it needed its own page.  It really is a random page for a random photo.     This is my page for the Memory Nest . The circles on the sketch were my major inspiration.  I felt that they would make a fun background.  At first, I changed the circles to triangles and then I noticed all these old frames on my desk.  I'm a chipboard frame hoarder. lol.  I thought most of the frames were really ugly or they had patterns that I would never use.  At first, I was going to just paint the frames white, but then I decided to make them gray.  I'm glad I made them gray because now they